
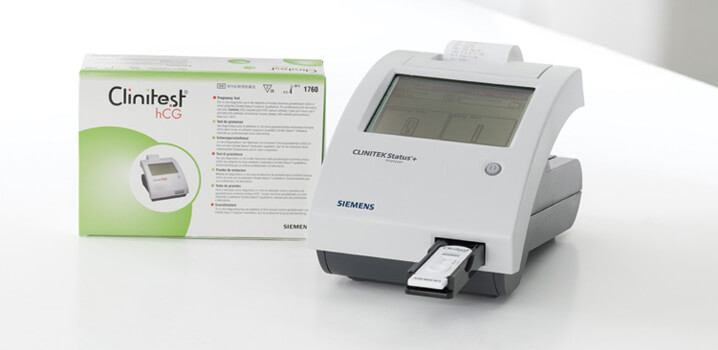
CLINITEST® hCG test on the CLINITEK Status® Family of Analyzers


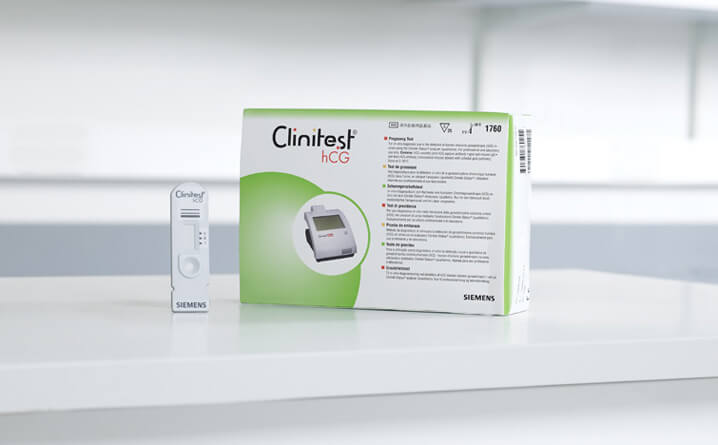
CLINITEST hCG Test
- For use on the CLINITEK Status® family of analyzers
- Uses urine sample only
- Results reported in as little as 2 minutes if positive and up to 5 minutes to confirm negative results
- CLIA-waived when used on the CLINITEK Status family of analyzers


CLINITEST hCG Test Kit Contents
- 1 single-use pipette
- 1 hCG test cassette
- desiccant to prevent moisture
The test kit can be refrigerated or stored at room temperature (2°-30°C / 36°-86°F). Do not use the test cassettes beyond the expiration date.
If the foil packs have been refrigerated, bring the foil pack to room temperature before opening to avoid moisture condensation.


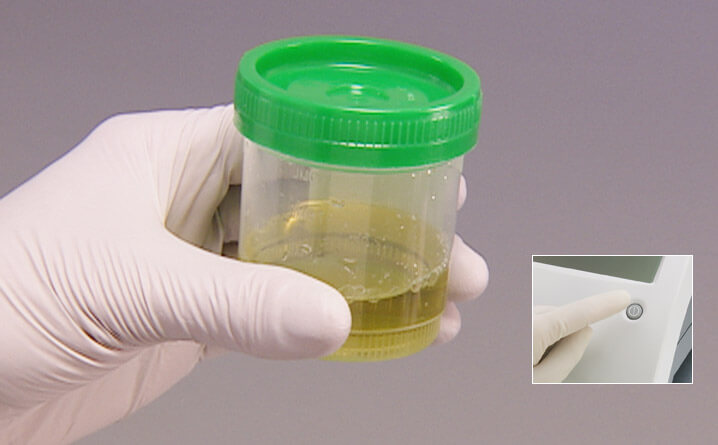
Preparing to run an hCG test
- Collect urine specimen in a clean, dry container
- Make sure you have the CLINITEST hCG cassette, the pipette, and the urine specimen
- Turn the analyzer ON
Helpful Hints to Avoid Errors
Test fresh urine sample within 2 hours of collection. Refrigerate specimen at 2°-8°C for up to 72 hours if the testing is not done immediately.
Refrigerated urine samples should be brought to room temperature (20°-30°C) before testing.
DO NOT test urine samples that look bloody or if they are not a normal color.


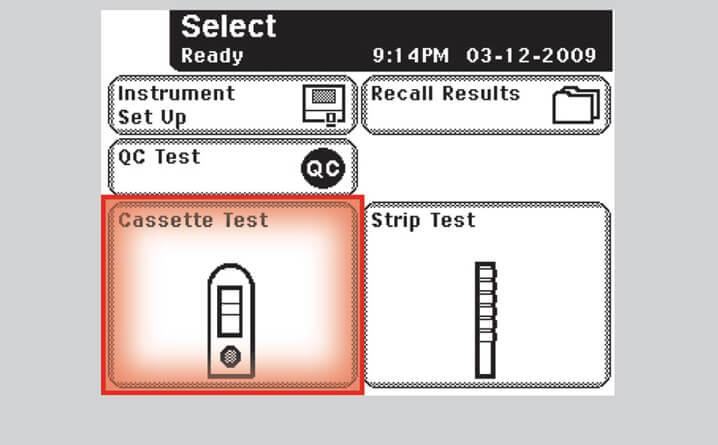
Step 1 – Select Test Option
- Select "Cassette Test" from the Select Ready screen on the analyzer


Step 2 – Enter Operator Information
- Enter your assigned operator ID, if prompted
Note: Operator ID can be entered using the onscreen keyboard or via the bar code scanner*
*bar code scanner is available on the CLINITEK Status® Connect System only


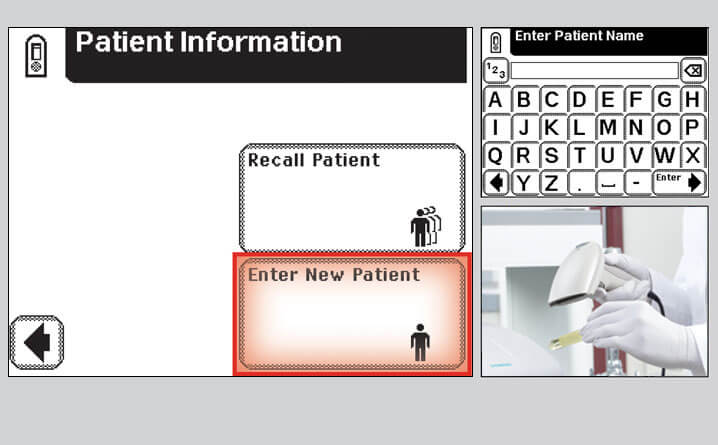
Step 3 – Enter Patient Information
- Enter the patient demographics (ID and/or Name), if prompted
Note: Patient demographics can be entered using the onscreen keyboard or via the bar code scanner*
*bar code scanner is available on the CLINITEK Status® Connect System only


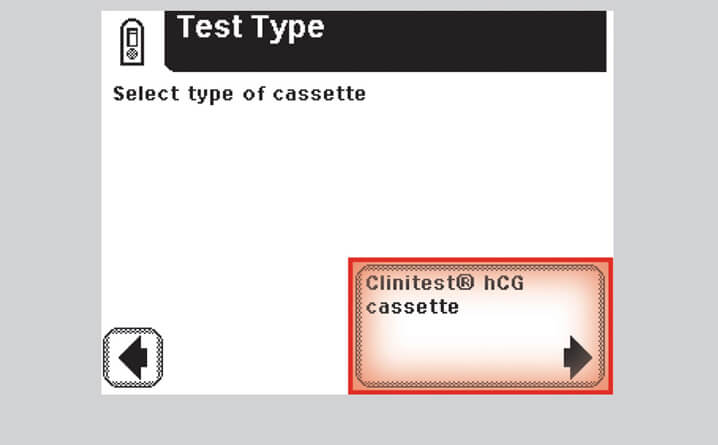
Step 4 – Select CLINITEST hCG Cassette
- Select "CLINITEST hCG Cassette"


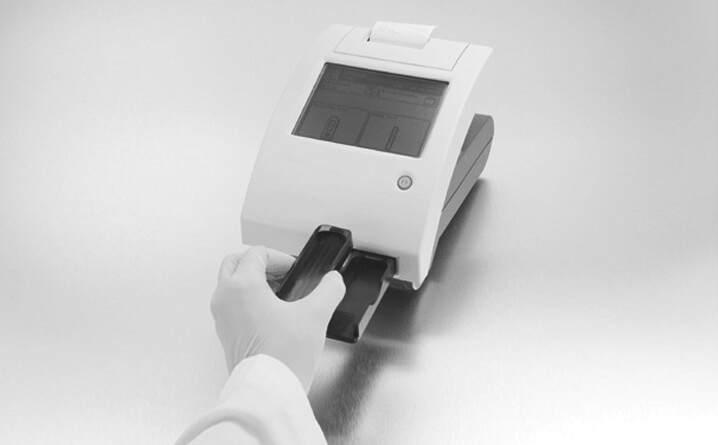
Step 5 – Turn Test Table
- Turn test table insert so cassette holder is facing upward
Note: The test table, the table insert, and the calibration bar need to be clean. Be sure to follow the recommended maintenance procedure.


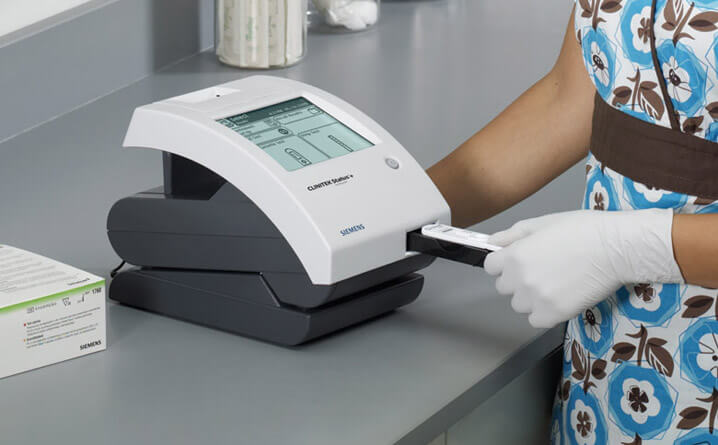
Step 6 – Place Cassette
- Remove a cassette from the foil package
- Place the hCG cassette onto the test table
Helpful Hints to Avoid Errors
Do not add sample to the cassette until prompted by the analyzer.


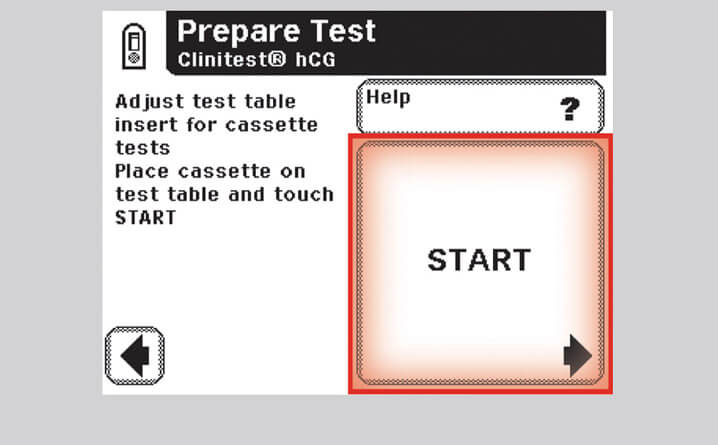
Step 7 – Select Start
- Select "Start" to begin the sampling procedure
Note: You will have 8 seconds to draw and add sample.
Helpful Hints to Avoid Errors
Do not add sample to sample well until after pressing the "Start" button.


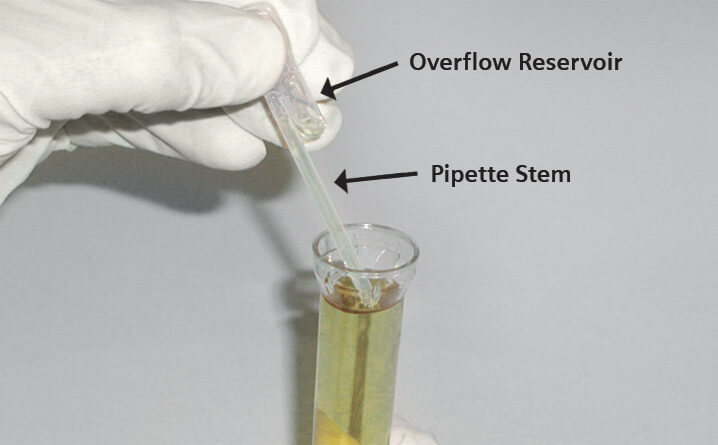
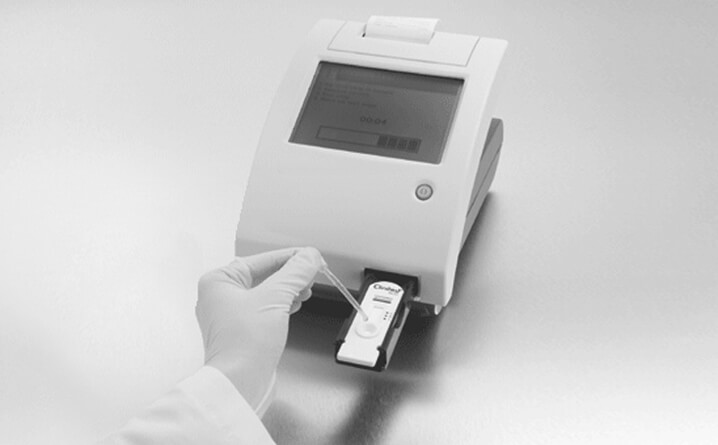
Step 8 – Draw Sample
- Draw the sample and completely fill the pipette stem
Note: Any excess sample will go into the overflow reservoir
Helpful Hints to Avoid Errors
Use only the pipette provided with each cassette.
Ensure the pipette stem is completely full.


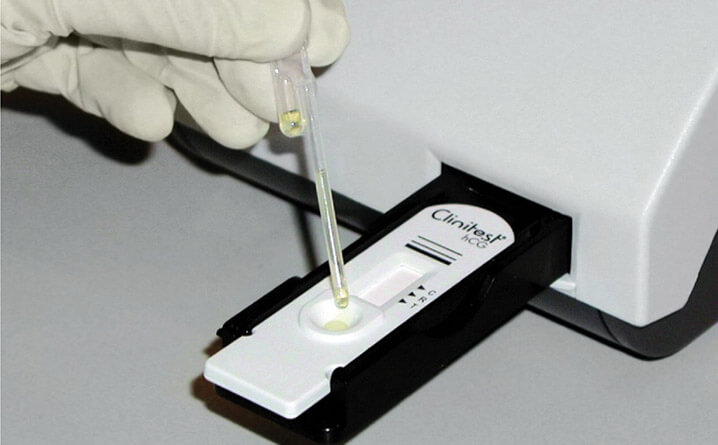
Step 9 – Add Sample
- Empty only 1 pipette stem into the cassette sample well
Note: The pipette is specially designed to deliver the required 200 µL sample volume.
- The CLINITEK Status analyzer will automatically draw the test table into the analyzer for processing.
Helpful Hints to Avoid Errors
Do not overfill the sample, only 1 pipette stem is required.
Ensure the entire pipette stem is dispensed.
Do not attempt to dispense any sample that is in the overflow reservoir.
It is recommended to use the pipette provided with the cassette to dispense the quality control materials. Counting drops may lead to erroneous results.
If you are using dropper bottles for quality control materials, ensure that only 200 µL of control material is added for testing.


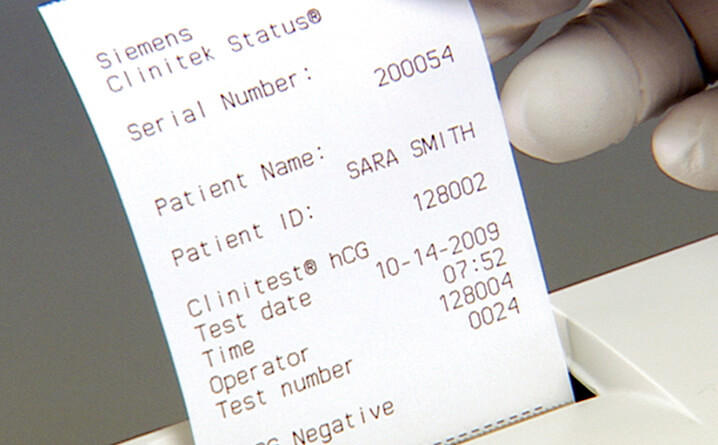
Step 10 – Get Result
- The analyzer will automatically time and record the result.
- Results can be automatically printed and/or sent to the electronic medial record, data management system or LIS, if connected.
Note: CLINITEST hCG can take up to 5 minutes to perform the test (strongly positive samples may be detected more quickly).
- Once the test is completed, remove the cassette.


Results Interpretation
- If a positive result is obtained on an individual where pregnancy is not suspected, repeat the test with another urine sample 24 hours later or confirm with an alternative method.
- If a borderline result is obtained repeat test in 48–72 hours.
- In acute situations, have a blood sample drawn from the patient and confirm result by a quantitative lab test.


Avoid Common Errors
- Use only pipette provided with test kit to ensure proper volume of 200 µL is delivered.
- Do not overfill sample well on hCG cassette, only 1 pipette stem is required. Overfilling leads to erroneous results.
- Only empty sample in pipette stem, do not attempt to empty sample from overflow reservoir. It is normal for excess sample to remain in overflow reservoir.
- Add sample to sample well only after pressing the START button.
- Use recommended quality control solutions. If using dropper bottles for QC materials, ensure only 200 µL of material is added for testing.
- Properly store cassettes.
- Use CLINITEK Status Family of analyzers to interpret results.
- Avoid using visibly bloody sample, severely turbid, viscous, or highly colored samples.
- Use samples and cassettes at room temperature.
- Follow proper cleaning and maintenance procedures.


Quality Control
- Use recommended quality control solutions.
- It is recommended to use only the pipette provided with the hCG cassette to ensure only 200 µL of QC material is dispensed.
- If using dropper bottles for QC materials, ensure only 200 µL of material is added for testing.
- Counting the number of drops of QC materials may lead to incorrect sample volume and erroneous QC test results.
- Using more or less than the required 200 µL may cause an error.


Recommended Quality Control Materials
To view a full chart of quality control materials, click on the button below.
